
This post will give you the basics you need to start making your own Milky Way images. If you really get hooked and want more details, check out my more detailed post.
1 – Equipment
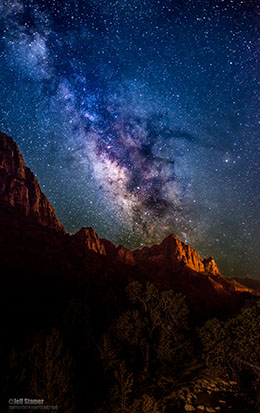
- Lens. Your lens will be the most critical piece of equipment. The Milky Way isn’t bright and it is wide (stretching from horizon to horizon). Your lens will need to be FAST (f/2.8 or better) and WIDE (a 10mm for APS-C sensor camera or 14mm on full frames is ideal).
- Camera. Full frames (like the Nikon D800 or Canon 6D) are excellent choices because of their amazing low-light sensitivity but nearly any high quality DSLR manufactured in the last five years can capture adequate Milky Way images.
- Tripod and a Remote Shutter Release. You’ll need long exposures to capture the Milky Way, so a tripod and remote shutter release are critical to keeping your camera still during the photo capture process.
2 – Where and When
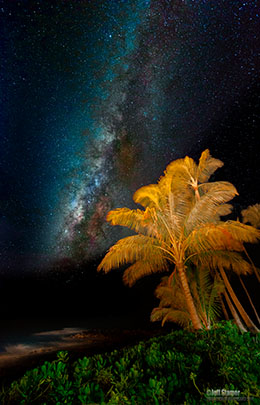
- Location. This is going to be the biggest challenge for most of you. There is so much light pollution that the Milky Way simply isn’t visible in many areas (75% of the US, for example, live in locations where it can’t be seen). Websites like Blue Sky, can help you find areas near you that have dark skies.
- Avoid the Moon and Clouds. Moonlight can overwhelm the faint Milky Way, so shooting during or close to the New Moon is ideal. Clouds can obscure the stars, so try to shoot on nights when the sky is clear.
- Summertime is Best. The optimum time to view the Milky Way is May thru September when its full arc is visible stretching overhead from the southern to the northern horizon.
- Timing is Everything. Predicting where and when the Milky Way will become visible is easy with inexpensive smartphone apps like Star Walk. This app lets you explore future dates, times and locations so you can pre-plan the shot.
3 – Technique
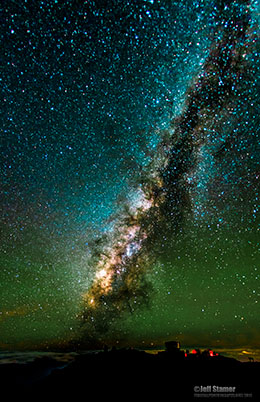
- Scout First, Shoot Later. Look for interesting locations during the day. Although the Milky Way is beautiful in its own right, your shot can become spectacular with the right foreground.
- Focus. Auto-focus won’t work in the dark. You will need to manually focus on a distant bright object and then use a piece of tape to hold your focus ring in place. If your camera has a Live View feature, use it. Take test shots until you are positive that you have perfect focus. This is a critical step…don’t rush it!
- Camera Settings:
- Set your image quality to RAW
- Set your camera’s program Mode to Manual
- Set your aperture to the fastest f-stop (lowest number) your lens is capable of
- Set your shutter speed to 30 seconds
- Now take a test shot. You want to take as long an exposure as possible without getting ‘star trails’ (when stars become a streak, rather than round spheres.) If your test image shows ‘trails’, reset the shutter to 25 seconds and try again…
- You’ll have to set your ISO high enough that the stars are visible but not so high that noise is overwhelming. Take a series of test exposures at progressively higher ISOs. Every camera model will be different, for example, my Nikon D800E’s sweet spot for night photography is around ISO 4000.
4 – Post-Processing
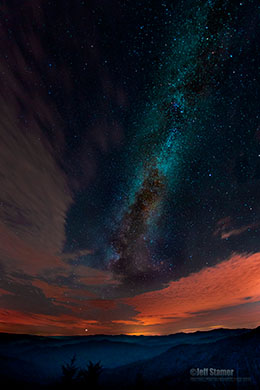
- Temperature. Adjust your white balance between 2800 and 3800 until you find a temperature that has a nice balance between the cold blues and warm oranges.
- Exposure/Contrast/Clarity. Tweaking these settings will help make the stars ‘pop.’
- Hue & Saturation. Your goal here is to find the colors inherent in the Milky Way and coax them to be a bit more visible. Using masks and layers can help to concentrate your results to the ‘bulge’ of the Milky Way without discoloring the background stars. This is perhaps the most subjective and creative step…just have fun with it!
- Noise adjustment. High ISOs result in noise, so you’ll need to use a noise reduction program to maximize the quality of your image. I’d suggest you put your foreground on a different layer and apply a more severe level of correction than you do to the layer containing the stars.
That should be enough to get you started. With just a bit of practice I’ll bet your friends and family will be amazed when they see your Milky Way shots!
Have fun!
Get more great tips in our free weekly newsletter.
 About the Author: Jeff Stamer got his first camera, a secondhand Kodak Brownie back in 1964. A lot has certainly changed since then, but he will tell you that love of photography hasn’t been one of them. After a 30 year interlude with an international Fortune 500 corporation, Jeff returned to full-time wildlife and landscape photography in 2010. He has since been making up for those lost decades with a vengeance. Jeff writes a regular photography blog and maintains a well-respected website at: http://www.firefallphotography.com/

Leave a Reply