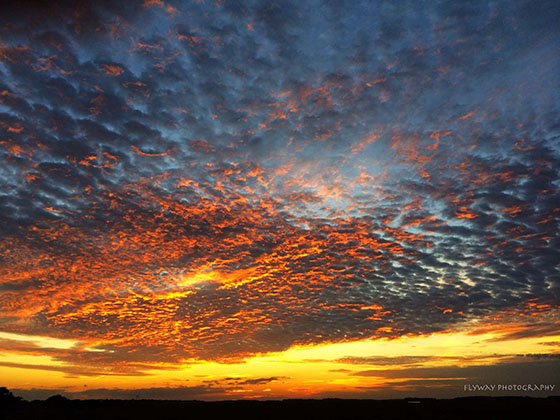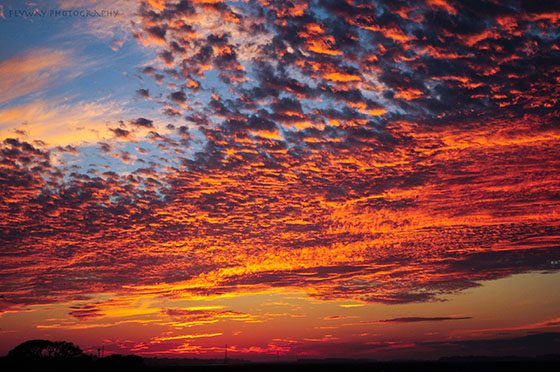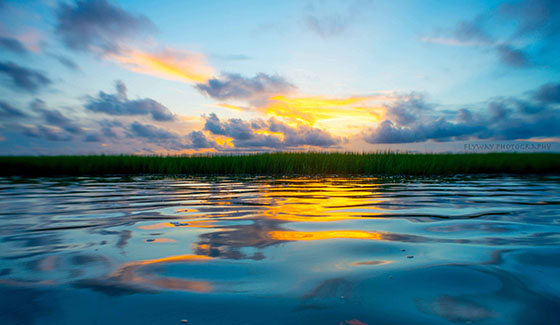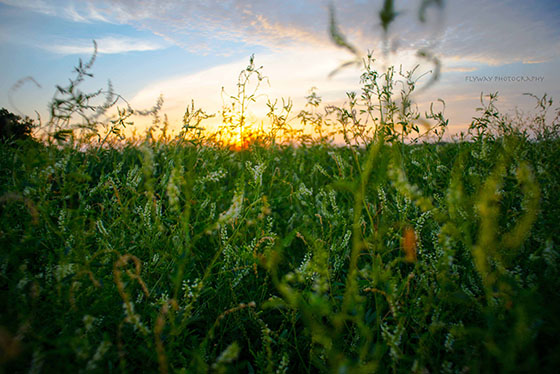
Photographing the sunset is all about catching rich colors, interesting reflections, dazzling highlights, and dark silhouettes that emerge during this golden hour. As the day wanes, the color and light change minute by minute and elicit an enticing sense of addictive urgency.
The perfect shot is all about timing and the ever-changing combination of weather patterns, available light, and time of year ensure that every sunset is different. Be sure to stick around once the sun has vanished so you don’t miss a hue; but most importantly, take a minute to enjoy the show.
1. Plan Ahead
The best light exists within a short 30-minute window that happens approximately 15 minutes before and 15 minutes after the sun disappears from the horizon. Leaving no time for hesitation or indecisiveness, it is important to plan ahead. Check the weather, the tides, cloud coverage, calculate your timing, and even work on anticipating what colors that evening’s sky will produce. Each day’s specific combination of variables will inevitably influence where to set up your shots.
I find the LightTrac app to be a great tool for any sunset photographer. This smartphone app calculates both the elevation and angle of the sun and moon for any date and time, at any place on earth, and plots it on top of a satellite map. It’s useful when planning a photo shoot in an unfamiliar area days, weeks, or even months ahead of time and makes it easy to navigate towards a perfect view of the setting sun.
2. It’s All About the Clouds

Pay particular attention to the clouds on any given afternoon. Partly cloudy afternoon skies have a tendency to produce the most dramatic sunsets. Look for cirrus and altocumulus layers to produce the richest colors. These high altitude clouds catch the last red and orange rays of the sun as it sets past the horizon and reflects them back to the ground. Lower altitude clouds will not be as colorful but will add interesting texture.
3. Exposure

When photographing sunsets, you are often left with a very bright sky and a dark foreground. To improve the overall tone, try bracketing: take the same photo three times with different exposure settings. The first one should be over exposed, the second a mid tone, while the third under exposed. Using Photoshop or Photomatix, you can combine the photos into one for a more even exposure that pulls the best light and color from each.
4. Composition Is Key
Create a balanced composition by adhering to the rule of thirds. Place your horizon one third of the way from the top or bottom. Do not put the horizon directly in the center, or you will visually cut your photo in half.
It’s important to find interesting foreground elements to add character to a photo. A blank landscape with the setting sun lacks depth. A river or tree can provide interesting silhouettes if they are directly between you and the sun, or get in close and let the foreground take over.

5. Experiment With a Variety of Focal Lengths
Wide angle shots are generally standard for landscape photography, but it is helpful to experiment with a variety of focal lengths. A wide angle shot will put the sun at a significant distance, allowing you to capture more of the scenery in your frame. The additional distance also makes anything in the foreground appear very small. It’s helpful to find foreground objects that can be photographed within arm’s distance so they don’t look so tiny. Using a wide angle lens, get in close to your foreground while using the sunset as a backdrop to fill up the rest of the frame.

The alternative is to use a zoom lens and bring your subject closer. The additional magnification will help to fill the frame, eliminating distracting elements that may surround the landscape.
6. Use a Tripod to Create Movement
Tripods are essential for showing movement and creating texture. Capture motion blur from water movement with the use of a slow shutter speed, while eliminating camera shake. Where I live on the East Coast, sunsets can be a windy affair, so be sure to use a tripod with enough centered weight to avoid swaying in the breeze.
7. Practice Being Patient
Don’t make the mistake of leaving too early! The secret to getting the most vibrant colors is to wait until after the sun has gone down past the horizon. The next 15 minutes will turn a partly cloudy sky into a vibrant show of color.
8. Make the Most of Your Post-Processing Tools
Photoshop and Lightroom are great programs for improving tones in a sunset photograph. It’s quick and easy to darken silhouettes for a truer black, boost the saturation for more vivid colors and increase the sharpness for improved texture.
With 365 sunsets a year, there are plenty of opportunities to practice! Happy shooting!
Get more great tips in our free weekly newsletter.
About the Author: Lindsey Leigh Graham is an amateur wildlife and surf photographer based in Folly Beach, SC. Inspired by the surrounding coastline, she creates beautiful and functional wall art using reclaimed wood and glass. She’s a frequent blogger for Treat.com.

G’day Lindsey, great advice and well explained; especial not rushing off as soon as the sun sets below the horizon. However I feel you missed one important point; look around us and look behind us. There are times the best light is in the east before the sun sets.
Cheers
ianb from down uder
Simply wonderful, Lindsey!
My second most favorite thing to photograph is the clouds (first is my cats and dogs), especially sunrises and sunsets!
I also, however, agree with Aussie ianB! One of the best things to photograph is a sunset in the east! First time I realized there could be dramatic color in the east from a (western) sunset, I flipped out! Now I never forget to check the sky all over when photographing clouds at ANY time of the day!
Awesome information, Lindsey, I can’t wait to get I out there and try some of your suggestions!
Thanks so much!
~❄Snowflake❄~
Thanks for reminder! I all too often forget to look behind me!