
Although there are many lens choices for photographing birds, our discussion will focus on the medium length hand-holdable telephoto lenses.
When using the medium length telephoto lenses (e.g. Canon’s 300mm f4, Canon’s 400mm f5.6, Canon’s 100-400mm f4.5-5.6 and Nikon’s 200-400mm f4), it’s always advisable to use a tripod for the sharpest photographs possible. However, one type of photography virtually renders a tripod useless: photographing birds in flight and in particular, fast moving birds like raptors!
How to hold your camera
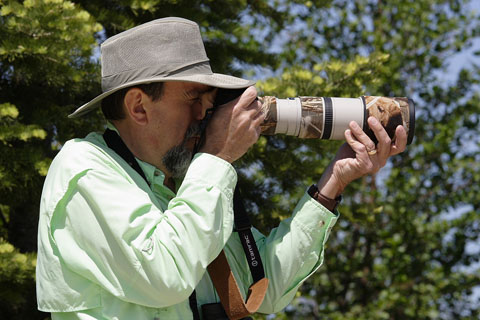
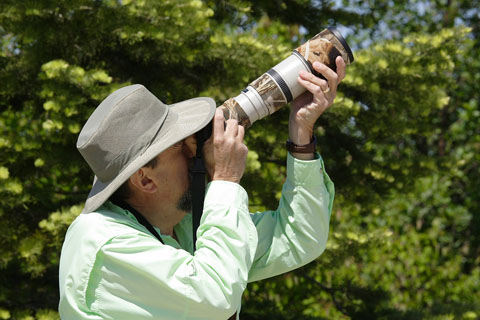
The two photos above show the proper way to hold your camera and lens. It’s important that your hands and entire body are in a relaxed position and that your position allows you to pivot easily. Confine your position and you’ll compromise your ability to move accurately as a bird weaves across the sky.
You will see in these photos that I have one hand firmly on the camera and the other hand relaxed at or near the end of the lens. This is the best way to have full balance and control of your movements.
In the first photo, I’m holding the camera in a somewhat level and horizontal position. Many times you’ll encounter a bird perched, and this position will allow you to not only take sharp photos of a stationary bird but also be ready if it takes flight and flies close to the ground.
In the second photo, I’m holding the camera for a bird in flight. You will notice that the position of my hands is virtually identical to the horizontal position. Again, it is important that your stance allows you to move in multiple directions, even to the point of almost turning around completely. Fast moving birds like hawks and falcons allow very little time for adjustments. So, being ready for their sudden shifts in direction is vital.
How to setup your camera
The next thing to consider is what camera settings to use. There are two mandatory requirements for shooting birds in flight:
Use a fast shutter speed, but don’t compromise good exposure or depth of field. Shutter speeds of 1/1000 or faster are recommended. Using high shutter speeds helps compensate for any minor unsteadiness and will also freeze the motion of the bird.
Maximize the burst rate on your camera. To maximize the amount of photos you can take in a burst, switch your camera to JPEG mode. Since JPEGs are significantly smaller than RAW, they won’t fill up your camera’s buffer as fast as RAW. Here’s a series of six photos that illustrate why a fast burst rate is important:
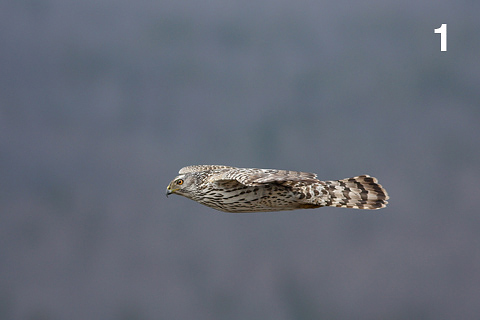
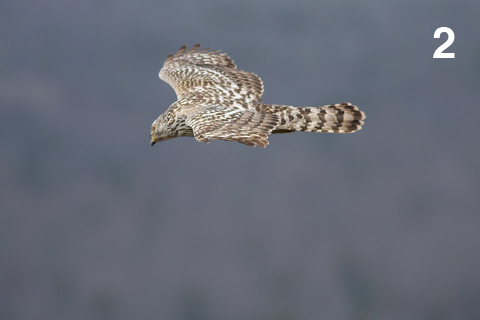
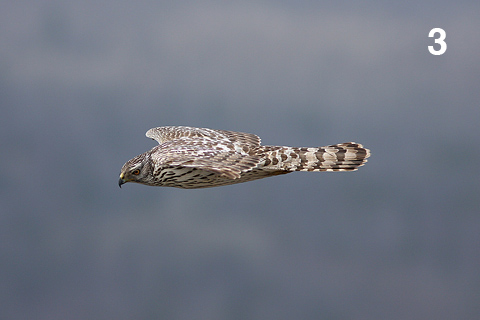
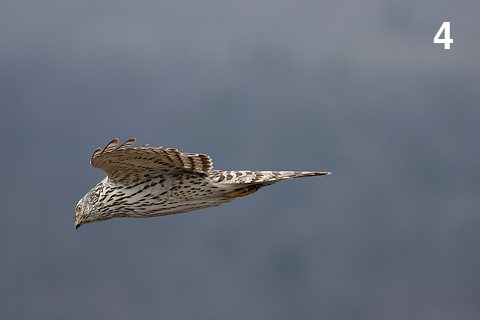
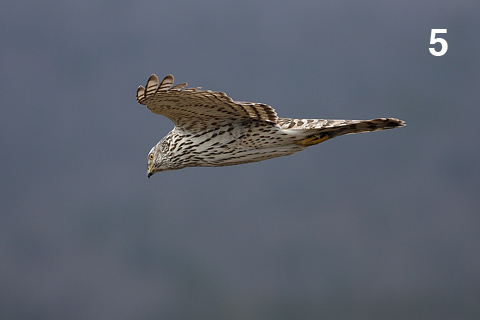
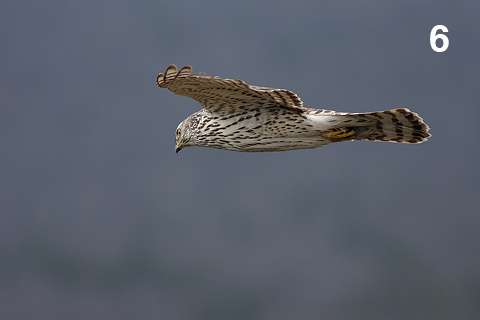
This sequence of six photos was taken with the camera set at the highest possible burst rate of 6 fps. The entire sequence of this shot lasted only 1 second total.
In general, there are three things to look for in a good bird image: sharpness, exposure and natural pose. Although all these shots were perfectly exposed, only one photo (#3) was both sharp and with the bird in a natural position. Had I not used a high burst rate, I may have missed this shot completely. And trying to get a bird in flight with a natural pose with only one shot being fired is pure luck. Take most of the luck out by using a high burst rate. This photo was shot with a Canon 300mm f/4L IS USM lens with the camera set at ISO 400 and f/4 at 1/2000 second. Oh, by the way, the bird is a juvenile Northern Goshawk.

Personally I like to set my camera in manual mode and use JPEG only.
Manual mode allows me to not worry about the camera changing settings as a bird moves past visible terrain of various shades or when the camera’s light meter misreads the scene such as when a bird moves in and out of your frame across a bright sky.
Shooting in JPEG lets me use the highest burst rate without any chance of the camera stalling as it sometimes does with RAW bursts. But keep in mind these are just my personal preferences. Plenty of bird photographers use either aperture priority or shutter priority along with RAW and achieve amazing results. Experiment and see what works best for you.
Just remember that your time of opportunity with a fast moving bird may only be a second or less!
Oh, and if you’re interested in learning more about raptors, please check out my new blog, The Raptorphile.
If you enjoyed this article, and would like to read more, please signup for free updates by email or RSS.
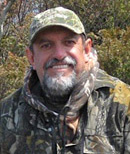 About the Author: Vic Berardi is a raptor lover that lives in the Midwest. He is the founder of the Illinois Beach State Park Hawk Watch and every weekend of the year you’ll find him searching for hawks and photographing them. Several of his photographs have been published in a leading raptor journal and in articles he has written. During the year he gives presentations teaching others about hawks and hawk migration. Vic also photographs dragonflies and wild flowers and is always respectful of nature and its creatures.
Your photos and advisory answers are inpirational.
I have a Sony a580 with “long” lenses of Sony 18-250 f3,5-6.3 and Tamron AF 70-300 f4-5.6.
Perched birds look too small from even only 10” I want to try shooting BIF.
For next step am conidering a Tamron 200-500 vs Sigma 150-500 f5.6-6.3. But in photo gallaries it seems most great shots are at lenses 300-400, some listed with a teleconverter 1.4. One blog states that Sigma 150-500 “could not track a BIF”.
Could you suggest which way to go? Tamron vs sigma vs tc 1.4?
Many thanks and I plan to follow you on PhotoNaturallist.
walter (b.1932)
You don’t seem to mention the red dot sight, are they any help?
For the little BIF i do i use a rod, which I made to slide in the hot shoe, just point the rod at the bird and fire away in burst mode, no need to peer through the viewfinder, I have an FZ50 and an FZ100, which has a real rapid burst. Must get out and try more often.
I have a Canon Rebel T3i EOS 600D with a telephoto lens EFS 55-250mm IS Macro 1.1m/3.6ft with attachment Sunpak 58mm Circular Polarizer filter
Also a EFS 18-55mm IS Macro 0.25m/0.8ft. with Sunpak 58 mm Ultraviolet filter
would I be able to get any good picture of birds in flight.
I’m a newbie so please tell me what is the best ISO and f/
Thank you,
joe
Nicely done Vic!
Very good article. Many good points. I have the Canon 100-400 USM IS II and I just got a Tamron 150-600. I was trying to get a little closer. Walter’s point of the the Sigma not being able to track BIF seems to be shared with the Tamron, also. The Canon 100-400 seems to be much more clear compared to the Tamron 150-600 when doing side-by-side comparison tests at different focal lengths with static targets at static distances in the backyard, also.