But, sometimes it’s necessary to sacrifice a little sharpness for a better composition.
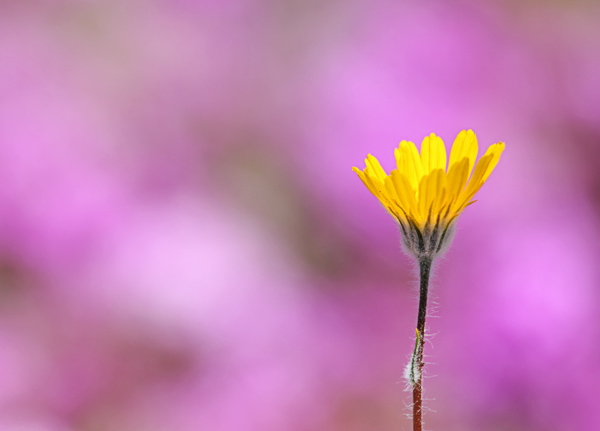
As an example, consider the photo above of a Desert Sunflower in front of a patch of Desert Sand Verbena (see original size photo too). There are three reasons why the sunflower isn’t as sharp as it could have been:
- The wind was blowing pretty hard, and constantly swaying the flower
- The camera’s sensor was not parallel to the most important plane of the flower
- A pretty large aperture was used (f/5.6), which limited depth of field
Of course, the wind was out of my control, so all I could do for that was wait for the calmest moment possible. But, the other two were in my control. Why didn’t I address these problems?
Well, if I put the camera in a position where the sensor was parallel to the flower, then I wouldn’t have had the all-purple background. It would have been a mixture between green, brown, and a few blotches of purple. All these colors would have distracted the viewer and it wouldn’t have created as strong a contrast as the purple alone.
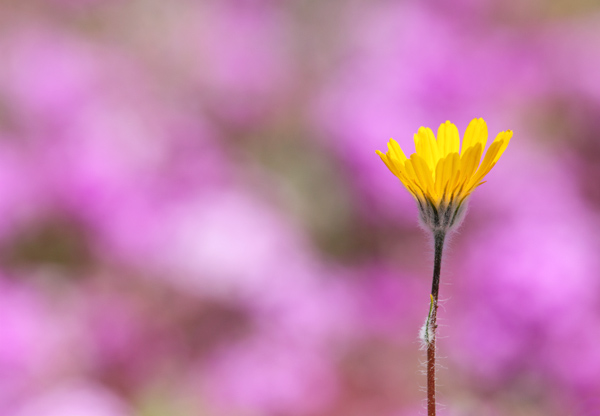
And, if I chose a smaller aperture to get more depth of field, then the background would’ve been a lot more in focus because it wasn’t too far away (only a few feet). I did take a test shot to see what it would’ve looked like if I increased the f-number by one stop to f/8.0:

Even just a one stop difference significantly changed the background from a nice seamless purple into a distractingly blotchy background.
Another thing to consider is the final print size you’re looking to make. Yeah, my flower photo here would look pretty blurry if printed at 30×20, but if I print smaller, then I can take advantage of sharpening through resizing. With flower photos, I think an 8×10 print is large enough, maybe 16×20 max?
So, consider your composition first, and then setup your shot to maximize sharpness of that particular composition. Don’t sacrifice your photographic vision just for a sharper photo.
If you enjoyed this article, and would like to read more, please signup for free updates by email or RSS.

 About the Author: Steve Berardi is a naturalist, photographer, computer scientist, and founder of PhotoNaturalist. You can usually find him hiking in the beautiful mountains and deserts of Southern California.
Hi Steve, really enjoy your articles. Just popped in for info on white birds in flight and saw this. Can’t agree more, I sometimes see wild bird images that has clear PP marks of selective (over)sharpening. I recently took a photo of my first ever wild leopard. Due to the low light, ss couldn’t freeze the subject. But the end result was a very arty looking leaping leopard. Not intended though, there was a lot of panic to get the shot:-)
http://www.outdoorphoto.co.za/forum/photopost/showphoto.php?photo=232539&ppuser=15583
2 or 3 years ago, I was dangling at 700 metres in our National Park here in Mauritius, shooting a rare endemic species, ‘Rousseea Semplex’. With a naive compact, of course it came out perfectly blurred; but, Steve, I think I am now beginning to understand the experiences you are sharing with us.
Tiberman – Mauritius
Hey Steve,
Thanks for that!
I am not 100% sure what you mean when you say that the camera’s sensor wasn’t parallel to the flower. Do you mean that you were shooting ‘down’ at a slight angle meaning that the whole of the flower wasn’t on the same focal plane?
Thanks,
Richard
@Richard – That’s exactly what I meant: that I was shooting “down at a slight angle” towards the flower, so my camera’s sensor was not parallel to the most important plane of the flower.