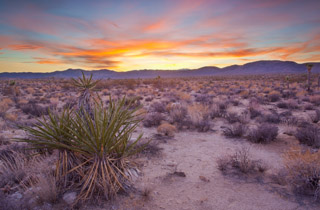
There’s a few ways to solve this problem, but one solution is to shoot two exposures: one exposed for the sky and one exposed for the foreground. Then, you can merge these exposures later in Photoshop.
Here are some details on how to accomplish this:
How to get the two exposures
The simplest part is shooting the two exposures. Since we’ll be merging the two exposures, it’s very important to use a tripod here (so both exposures cover the exact same area). This method also works best when there’s a clear line of separation between the sky and foreground.
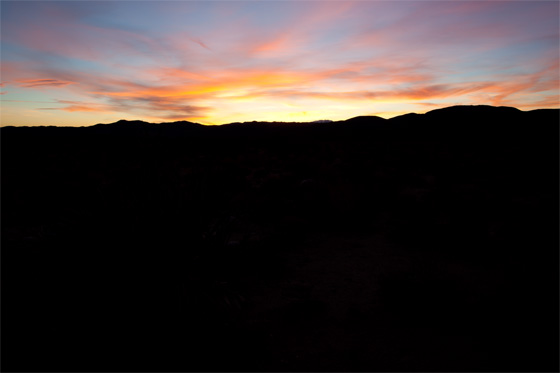
The first shot should be exposed for the sky. You want to make sure you capture all the beautiful colors in the sky, so keep an eye on your histogram and make sure you don’t overexpose any of your highlights (especially in the red channel)! In this shot, don’t worry if your foreground is completely black (or just really dark), because you’ll be combining this shot with another one. Here’s an example of what this first exposure might look like:

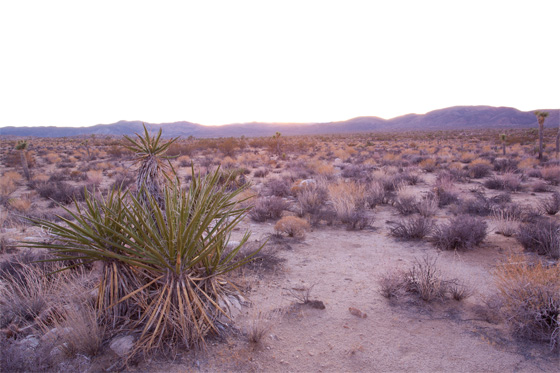
For the second shot, you want to expose for the darker part of your image (the foreground). This will usually require a much longer exposure, so keep making your shutter speed longer until the histogram shows that you’ve accurately captured the colors of the foreground. For this shot, the sky might be completely blown out, but don’t worry (just remind yourself that you’re merging two exposures!). Here’s an example of what your second shot might look like:

How to merge the exposures in Photoshop
In order to merge these two exposures, we’ll use layer masks in Photoshop. Layer masks are helpful because they allow you to control the transparency of pixels in a layer (so you can make pixels gradually go from completely opaque to completely transparent). They’re great for any kind of merging. Anyway, here’s how to do it:
1. Open both images in Photoshop
2. Copy the “sky image” (the one exposed for the sky) and paste it on top of the foreground image. So, you should now have an image with two layers: the background should be your “foreground image” and then there should be another layer on top of that with your “sky image”
 3. Add a layer mask to your sky image by first selecting the layer in the layers window, and then pressing the “Add layer mask” button (see screenshot on right). This layer mask will allow you to control what parts of your sky image will be transparent, and which parts will be opaque.
4. Select the layer mask in the layers window, and then select the gradient tool
5. Modify the gradient so it’s linear and goes from black to white
6. Draw a gradient on the layer mask, starting at the top of your image near the sky and dragging it to where the sky meets your dark foreground. This should create a nice merge between your sky and foreground. You’ll probably have to experiment a bit here to get it perfect, and you may have to go in close with a paintbrush tool to smooth out the edges, but this should give you the basic idea.
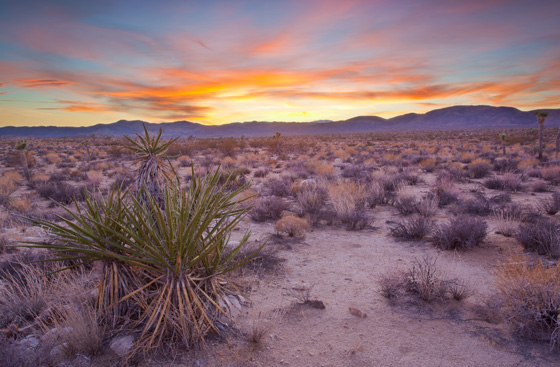
7. After experimenting a little, here’s the final version of this merged image:

Other solutions
This method works best for images that have a clear separation between the sky and foreground. So, for other shots where you have dark objects extending into the sky, you might be better off with trying another method (such as HDR or exposure fusion, which we’ll discuss in future PN posts!).
Get more great tips in our free weekly newsletter.
 About the Author: Steve Berardi is a naturalist, photographer, software engineer, and founder of PhotoNaturalist. You can usually find him hiking in the beautiful mountains and deserts of southern California.

Leave a Reply